
All Windows platforms since XP include the System Restore tool, which is an amazingly handy troubleshooting utility. System Restore enables users to roll back Windows 10 to a restore point date. By doing so, that utility undoes system changes made after a selected a date. So, the System Restore tool is Windows 10’s very own time machine!
System Restore is one of the most invaluable troubleshooting utilities Windows has. Undoing software and hardware installations, and registry changes, made after a selected restore point can fix many Windows issues. For example, if a recently installed program generates a software conflict error, restoring Windows to a System Restore point that predates that program’s installation will resolve the issue.
If you ever encounter a Windows 10 startup issue, System Restore might be able to fix it. You can still open System Restore from Command Prompt outside Windows when the platform doesn’t boot up. You can open the Command Prompt, and then System Restore, from the Advanced Startup Options menu outside of Windows 10. These are four alternative methods to perform a system restore via the Command Prompt from Windows 10’s startup menu.
Part 1: How to Open System Restore with Command Prompt From the Windows 10 Startup Menu
1. Select Command Prompt on the Advanced Options Menu
Step 1: Turn on your desktop or laptop.
Step 2: Pressing the F11 key just after you turn on a PC will open the Advanced Startup Options menu on some desktops and laptops. However, the Advanced Startup Options menu will usually automatically open when Windows 10 doesn’t boot up.
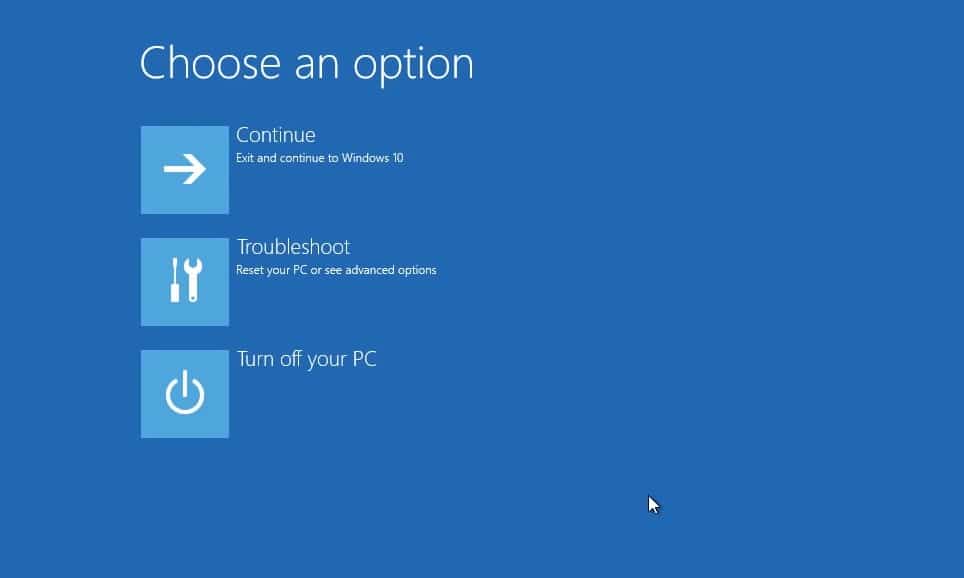
Step 3: Select the “Troubleshoot” option on the Choose an option menu shown directly below.

Step 4: Next, click “Advanced options” to open the menu shown directly below.
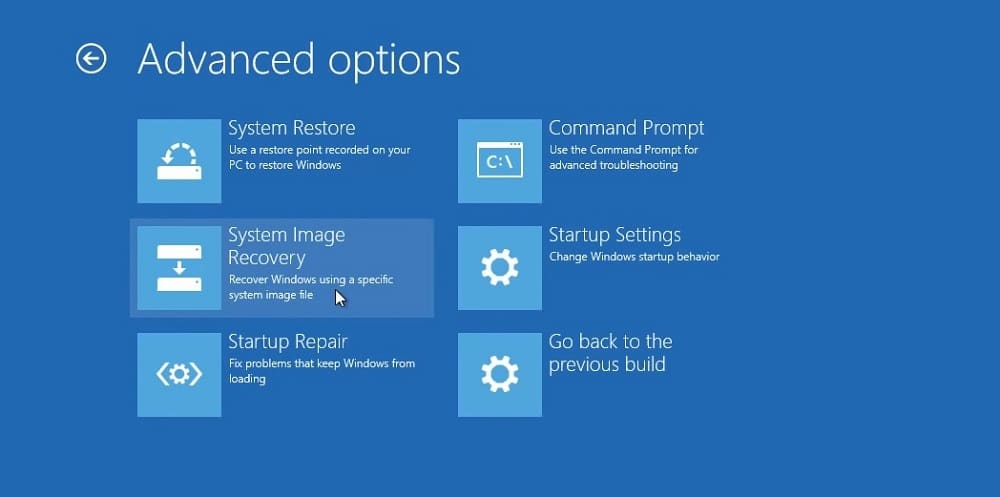
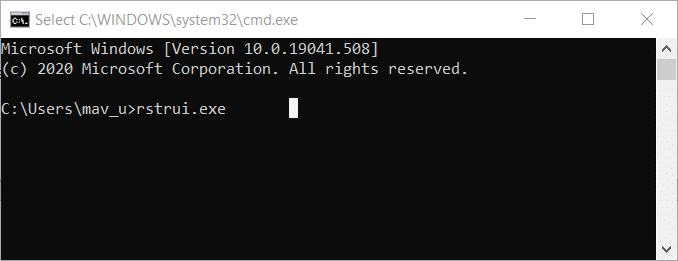
Step 5: Select “Command Prompt” there to open that utility.
Step 6: Input rstrui.exe in the Command Prompt, and press the Enter key. Then the System Restore window will open from which you can roll back Windows 10.
Note that the Advanced options menu also includes a “System Restore” option. So, you can just select that option to open System Restore without entering a Command Prompt command for it. Now you have complete running System Restore command prompt Windows 10.
2. Select the “Enable Safe Mode With the Command Prompt” Option
Step 1: Alternatively, you can select an “Enable Safe Mode With the Command Prompt” option during system startup. First, turn on your PC.
Step 2: Then press the F11 hotkey during system startup to open Advanced Startup Options, or wait for that menu to appear if there’s a Windows 10 startup issue.
Step 3: Next, select the “Troubleshoot” button and “Advanced options” to open that menu.
Step 4: Select “Startup Options” to open the “Restart” button in the snapshot directly below.
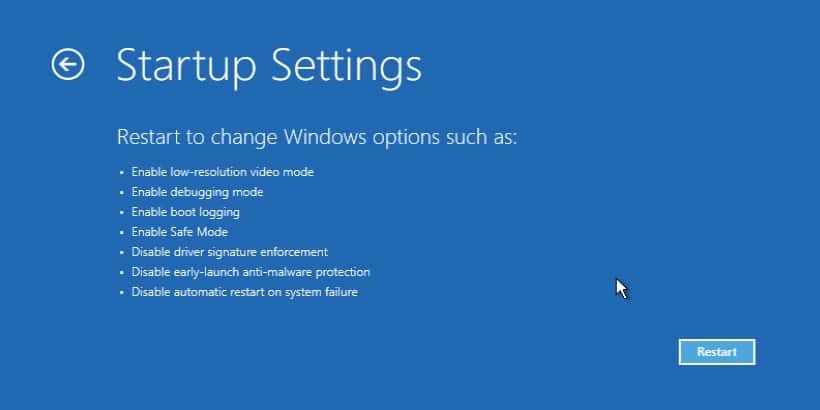
Step 5: Press the “Restart” button. Your PC will then restart at the Startup Settings menu shown directly below.
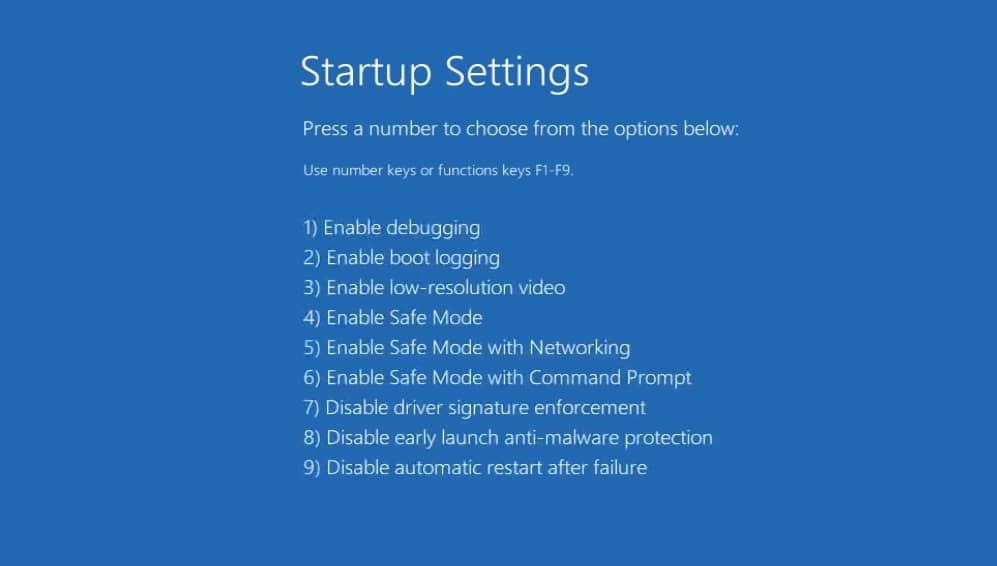
Step 6: Press the F6 key to select the “Enable Safe Mode with Command Prompt” option.
Step 7: You’ll need to choose an account to sign in with.
Step 8: Thereafter, the Command Prompt will open. Type rstrui.exe into the Prompt’s window and hit Enter to launch System Restore from command prompt.
3. Set Up a Recovery Drive
You can set up a Windows 10 recovery drive on bootable media with which you can access the Advanced options menu during system startup, and then open Command Prompt and System Restore from there. Of course, you won’t be able to do that on a Windows 10 PC that doesn’t boot up. However, if you have a secondary Windows 10 desktop or laptop handy, you could set up the recovery drive on that as follows.
Step 1: Open the Windows 10 search tool by clicking the “Type here to search” button on the taskbar.
Step 2: Enter the keyword recovery drive in the text box.
Step 3: Select the “Create a recovery drive” option to open that utility’s window.
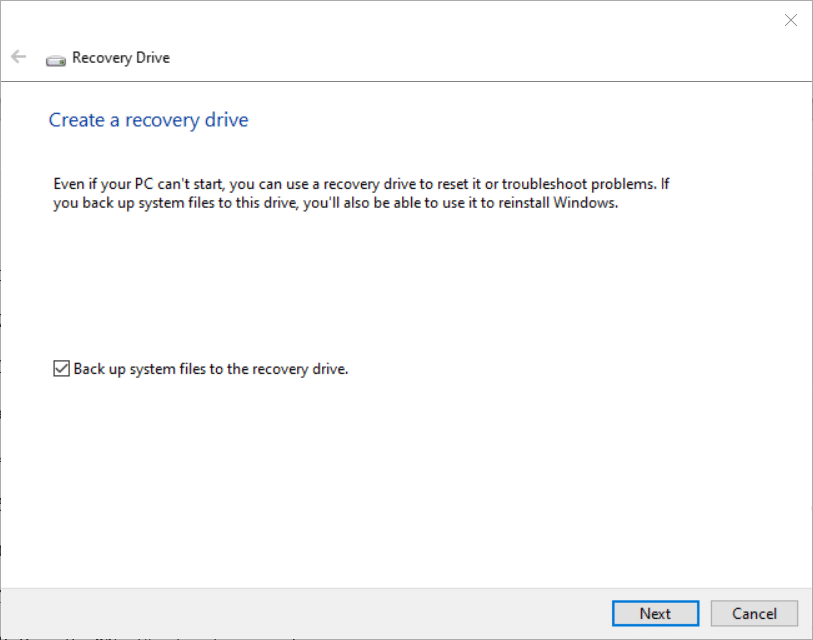
Step 4: Select the “Back up system files to the recovery drive” checkbox.
Step 5: Click “Next” to continue.
Step 6: Insert an NTFS formatted USB drive with at least 16 GB into your desktop or laptop.
Step 7: Select the USB drive you inserted into your laptop.
Step 8: Press the “Next” option to proceed.
Step 9: Then click the “Create” option to set up the recovery drive.
Step 10: Press the “Finish” button.
Step 11: Then insert the recovery drive into the Windows 10 PC you need it for.
Step 12: Turn on the PC. The desktop or laptop will boot from the recovery drive so long as it has been configured to do so.
Step 13: Thereafter, select a keyboard layout option on the menu shown directly below.

Step 14: Then select “Troubleshoot” > “Advanced options” on the blue menu.
Step 15: Select “Command Prompt” to open, yup you’ve guessed it, the Command Prompt window!
Step 16: Finally, type in the rstrui.exe command and press Enter.
If your desktop or laptop doesn’t boot from the recovery drive, you’ll need to configure it to do so with the boot order BIOS or UEFI settings. To access the BIOS, you’ll need to press an F2, F10, F11, or another F key during the system startup. Check your PC’s website instructions or manual to find out what the BIOS setup key for it is. Users with UEFI PCs will need to select “UEFI Firmware Settings” on the Advanced options menu.
When you’ve opened BIOS or UEFI settings, select the Boot tab. You’ll need to select USB drive for “Boot Option #1” on the Boot tab. Then your USB drive should be above your hard drive in the boot order. Remember to save the new settings before exiting by selecting a “Save” option.
4. Open System Restore From Command Prompt with a Windows 10 installation disc
Step 1: If you have a Windows 10 installation disc on a USB flash drive handy, you can open System Restore command prompt Windows 10 with that during system startup. First, configure your PC to boot from USB drives as outlined for the previous method if it’s not.
Step 2: Insert your Windows 10 installation USB drive into the laptop or PC.
Step 3: Power on the desktop or laptop.
Step 4: Then a Windows Setup window will open. Press the “Next” button on that window.
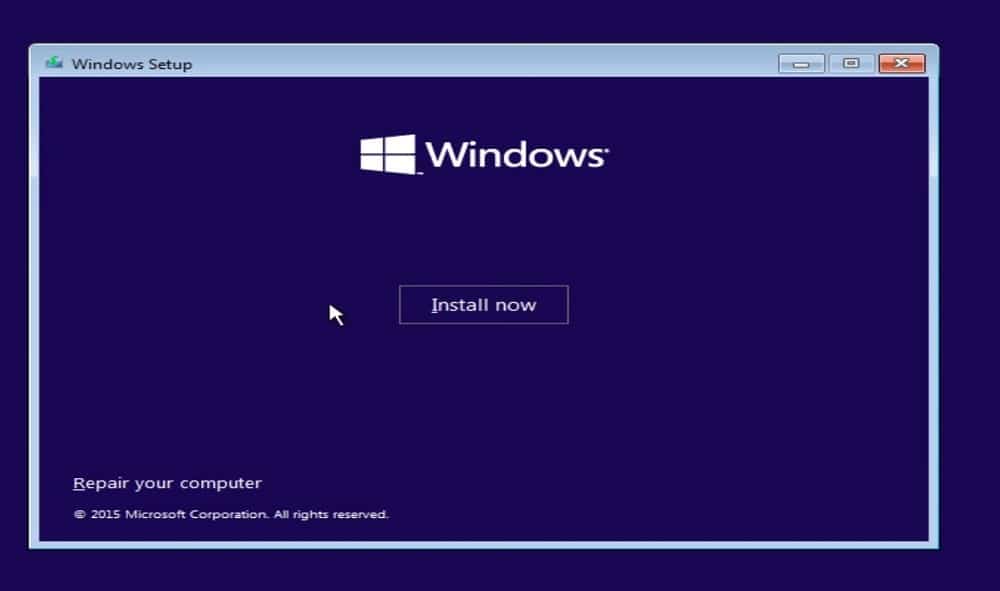
Step 5: Select “Repair your computer” to open the Advanced Startup Options menu.
Step 6: Then select “Troubleshoot” > “Advanced options” > “Command Prompt” to open the command-line utility.
Step 7: Type rstrui.exe in the Prompt’s window, and press the Enter keyboard key.
If you don’t already have an installation disc, you can set one up with the Windows 10 Media Creation Tool. You’ll need to download the Windows 10 ISO to a USB drive with that utility. However, it’s quicker and more straightforward to set up a recovery drive with a USB stick.
Part 2: How to Roll Back Windows 10 With System Restore
Step 1: When you’ve opened System Restore from Command Prompt with any of the above methods, you’ll need to select a restore point to roll Windows 10 back to. First, click the “Choose a different restore point” option.
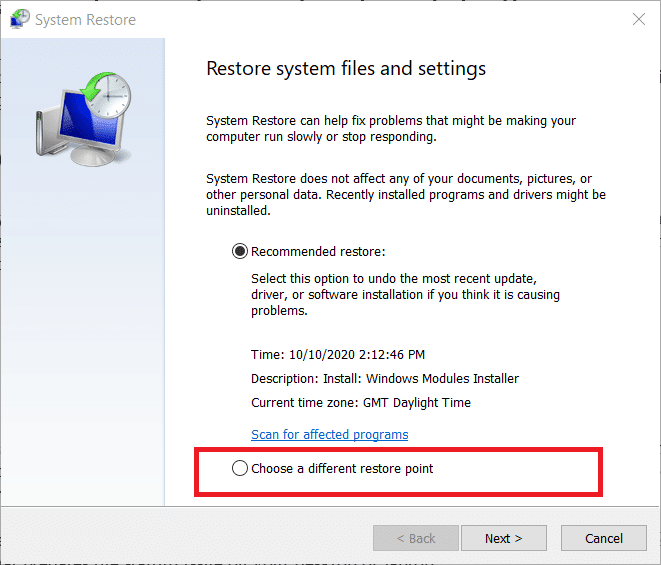
Step 2: Click “Next” to open the list of restore points.
Step 3: The System Restore window may or may not include a “Show more restore points” option depending on how many restore points there are. Select that option if you can so you can choose a restore point from a full list.
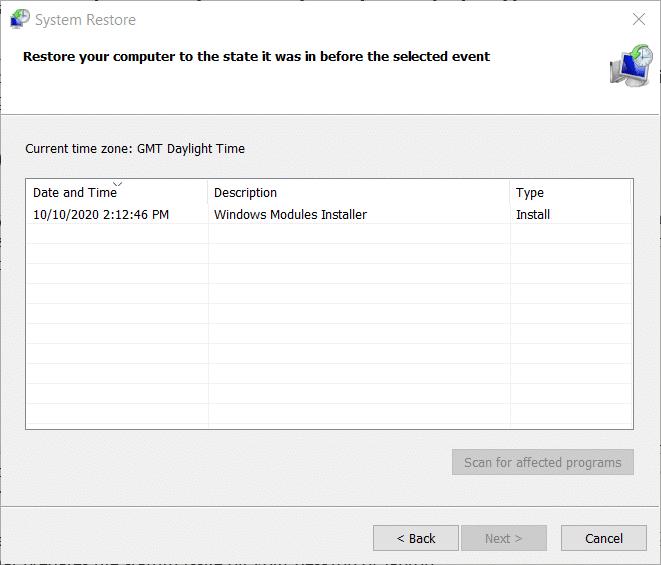
Step 4: Then select a restore point to roll Windows 10 back to. If Windows 10 doesn’t boot up, select a restore point that predates the startup issue on your desktop or laptop.
Step 5: Some software will probably get uninstalled for a selected restore point. You can check what software a chosen restore point will remove by clicking the “Scan for affected programs” button.
Step 6: Click “Next” to continue.
Step 7: Select the “Finish” option to confirm your selected restore point. Selecting that option will initiate the Windows 10 system restoration.
Conclusion
So, you don’t need to be logged in to Windows 10 to utilize System Restore. If you ever need to access System Restore outside the OS, you can do so with the above System Restore command prompt Windows 10 methods. Then you can fix all manner of startup issues, and other things, by rolling Windows 10 back to a restore point.