
A recovery partition is a portion of your hard drive set aside to store your PC’s system image, which is a backup copy of the operating system. Some new Windows 10 PCs have dedicated recovery partitions. Those dedicated Windows 10 recovery partition are there to enable users to restore Windows 10 via the Advanced options menu when needed. Therefore, a recovery partition is a precaution for any kind of system failure.
Part 1. Why Create Recovery Partition in Windows 10?
As desktops and laptops with Windows 10 preinstalled often include dedicated recovery partitions, some users might wonder why they need to create them. However, it’s worth noting that recovery partitions can get deleted in various ways. For example, formatting hard drives will wipe the default recovery partition for Windows. Users who install Windows 10 with the clean install method, which requires HDD formatting, will not have dedicated recovery partitions in place. Therefore, some users might still need to create Win 10 recovery partition on their hard drives.
Part 2. How to Create A Recovery Partition in Windows 10
You can set up a recovery partition in Windows 10 by copying that platform’s ISO to a separate hard drive partition. Here is how to create a recovery partition Windows 10.
Step 1: First, you’ll need to get the Windows 10 Media Creation tool by clicking the “Download tool now” button on the Download Windows 10 page.
Step 2: Right-click the Windows Media Creation tool’s EXE to select “Run as administrator.”
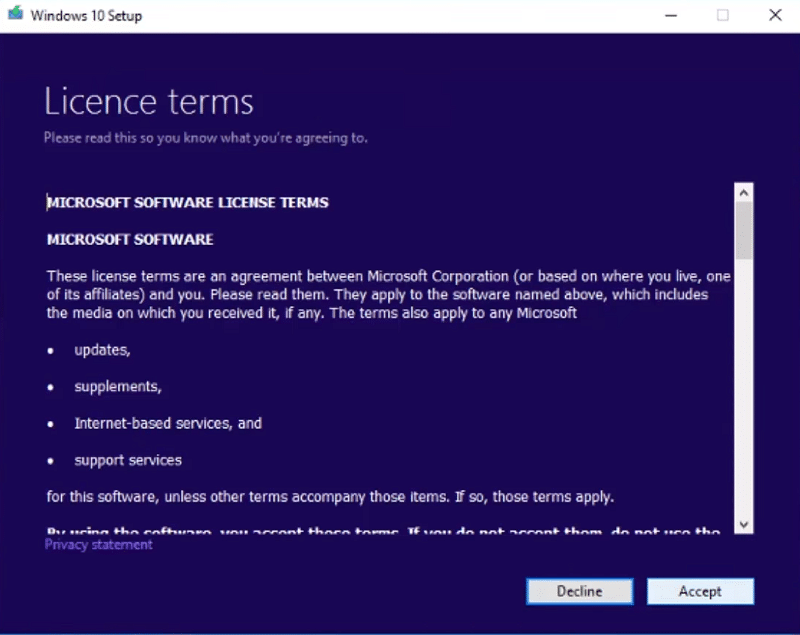
Step 3: Click the “Accept” button.
Step 4: Select the “Create another installation media for another PC” option, and click “Next” to proceed.
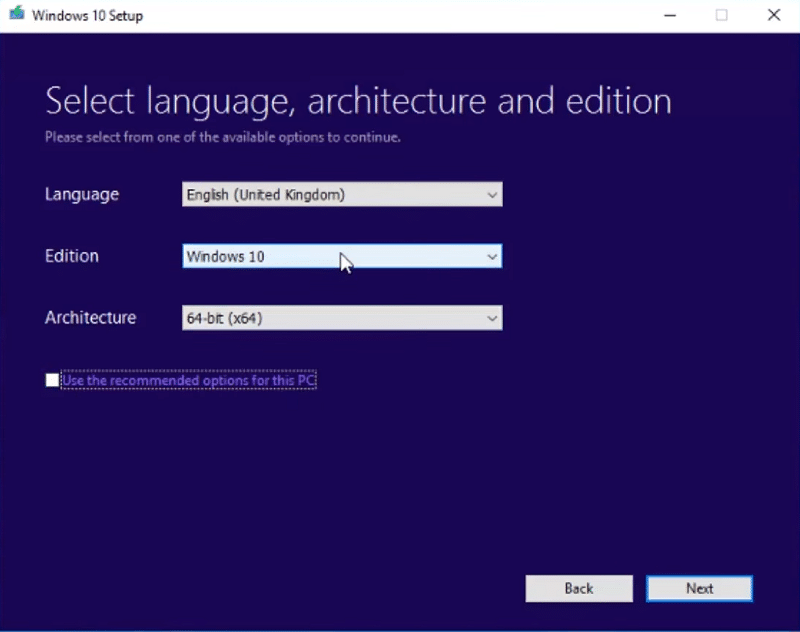
Step 5: Select the “Use the recommended options for this PC” checkbox, and press the “Next” button.
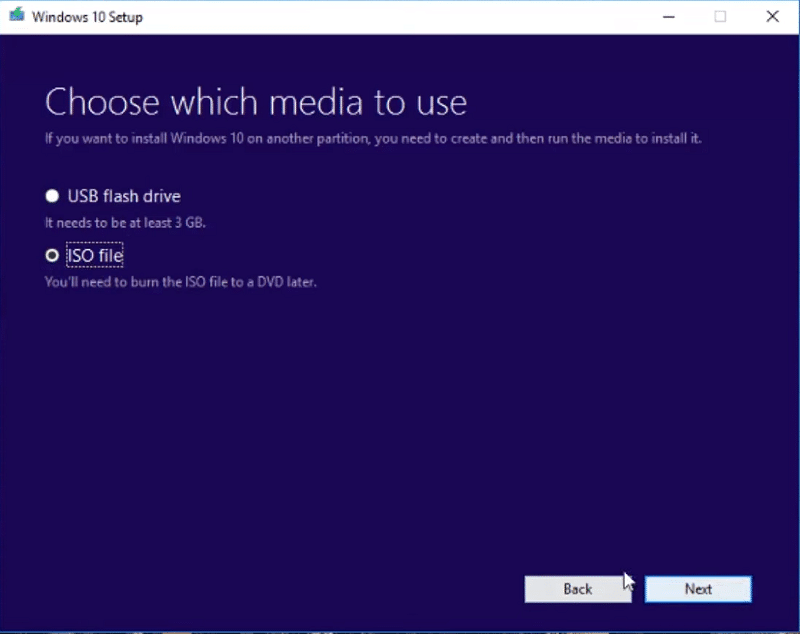
Step 6: Select the “ISO file” radio button, and click “Next” to continue.
Step 7: Then choose a folder to save the ISO to.
Step 8: Click the “Save” button to download the Windows 10 ISO to a designated folder.
Step 9: Click the “Finish” button when the Windows 10 ISO has downloaded.
Step 10: Open the Win + X menu with the Windows key + X hotkey for it.
Step 11: Select “Disk Management” to open the window shown directly below.
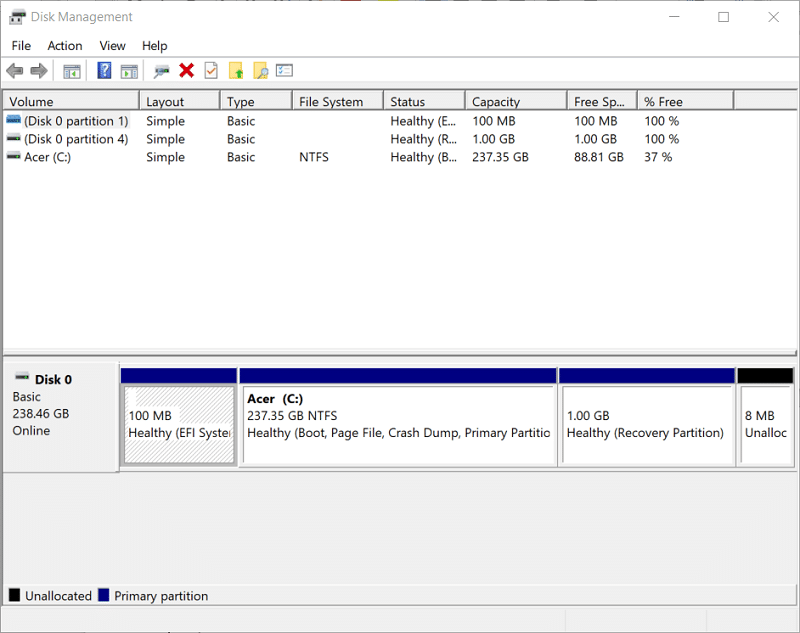
Step 12: Right-click your C: drive to select the “Shrink Volume” option.
Step 13: Enter 1,000 in the Enter amount of space to shrink in MB text box.
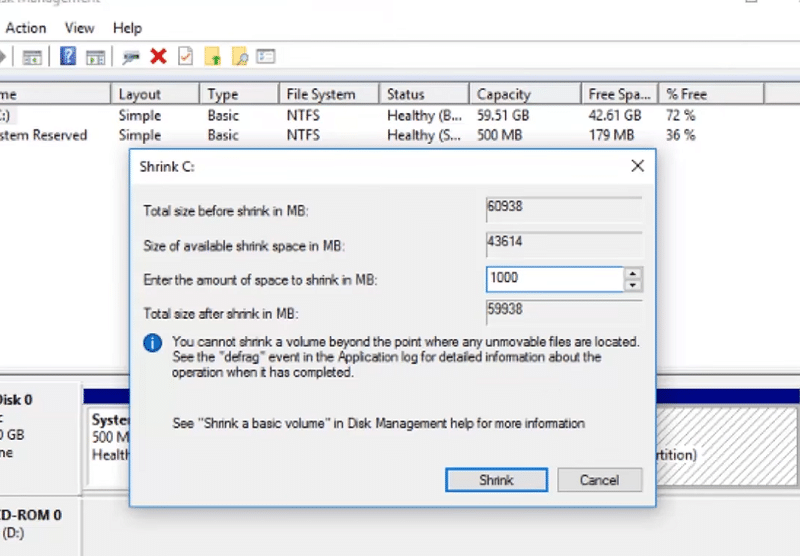
Step 14: Press the “Shrink” button.
Step 15: Right-click the new, unallocated partition and select “New Simple Volume” to open the window shown directly below.
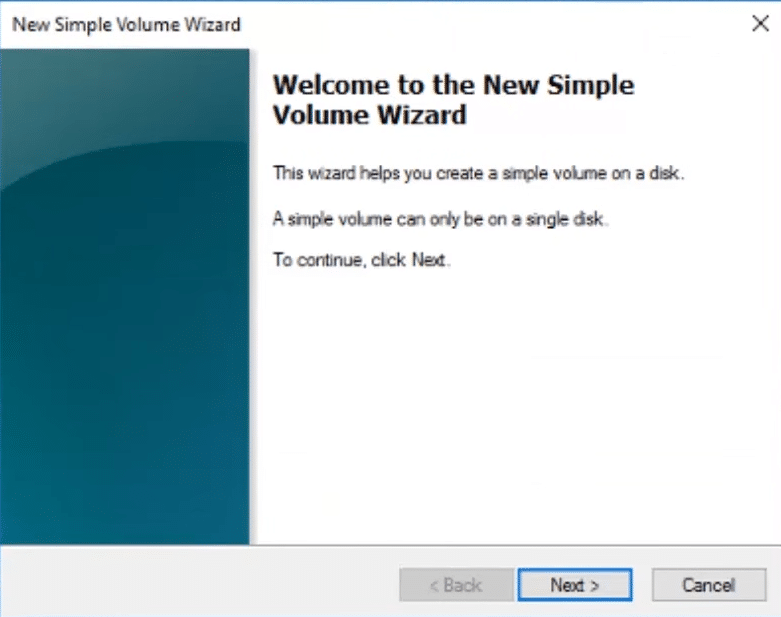
Step 16: Click the “Next” button on the New Simple Volume Wizard window.
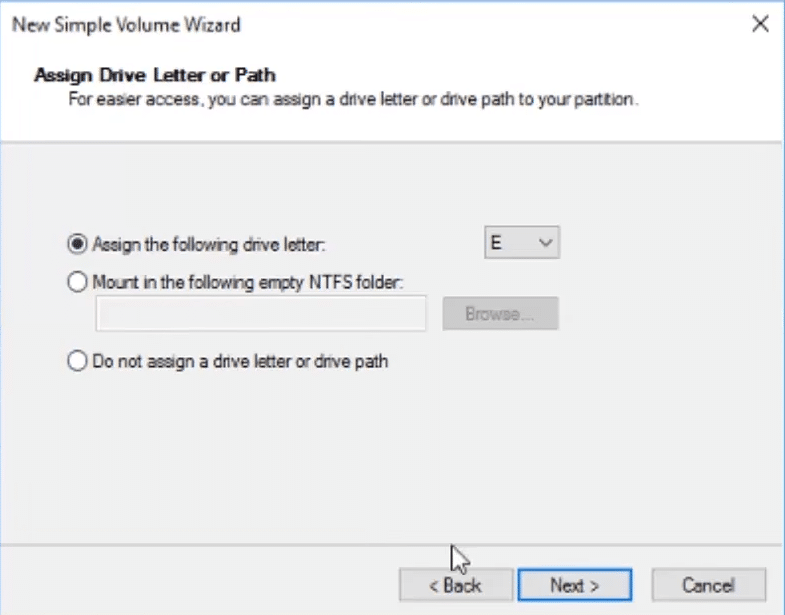
Step 17: Select the “Assign the following drive letter” option to select a letter for it, and click the “Next” button.
Step 18: Select the “Perform a quick format” option, and enter a title for the volume label.
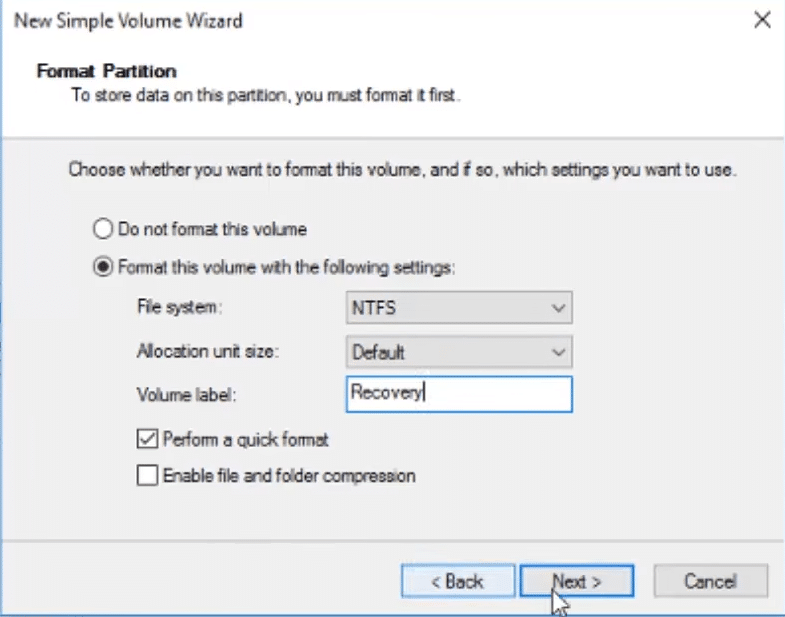
Step 19: Click the “Next” and “Finish” buttons.
Step 20: Double-click your downloaded Windows 10 ISO to open it in File Explorer.
Step 22: Press the Ctrl + A hotkey to select all the ISO’s contents.
Step 23: Press the Ctrl + C hotkey to copy.
Step 24: Open the new recovery drive partition you set up within File Explorer.
Step 25: Press the Ctrl + V hotkey to paste the copied ISO onto your recovery drive partition.
Now you’ve set up a Windows 10 recovery partition. However, that recovery partition won’t be accessible during system startup. To make that partition accessible on Windows 10’s boot menu, you’ll need the freeware EasyBCD 2.3 software. Click “Download Now” on the EasyBCD Softpedia page, and install that software with its setup wizard. Then follow the steps below.
Step 1: Open the EasyBCD software.
Step 2: Click the “Add New Entry” button.
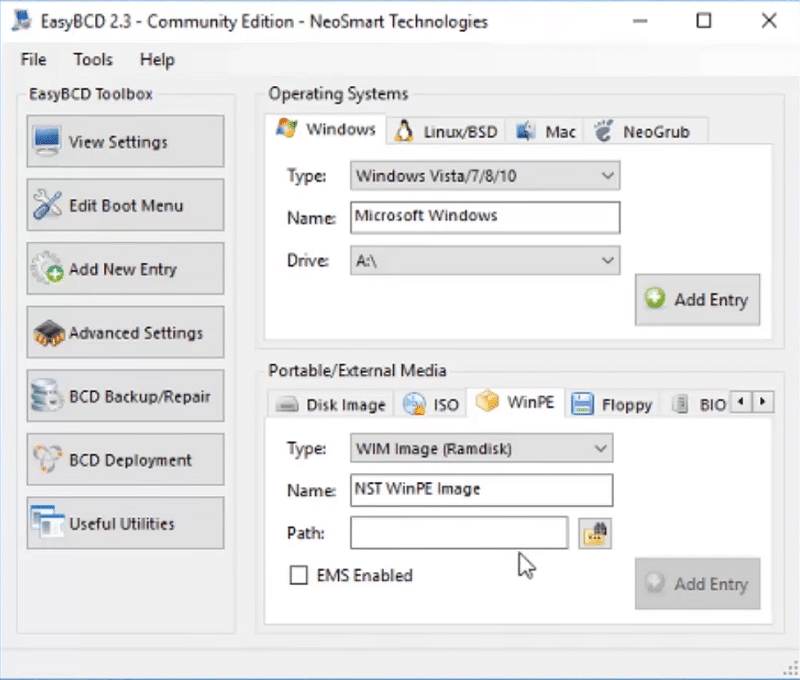
Step: 3: Select the WinPE tab.
Step 4: Click the “Path” button to select the boot.wim file on your recovery partition.
Step 5: Press the “Open” button.
Step 6: Press the “Add Entry” button.
Step 7: Click the “Edit Boot Menu” option.
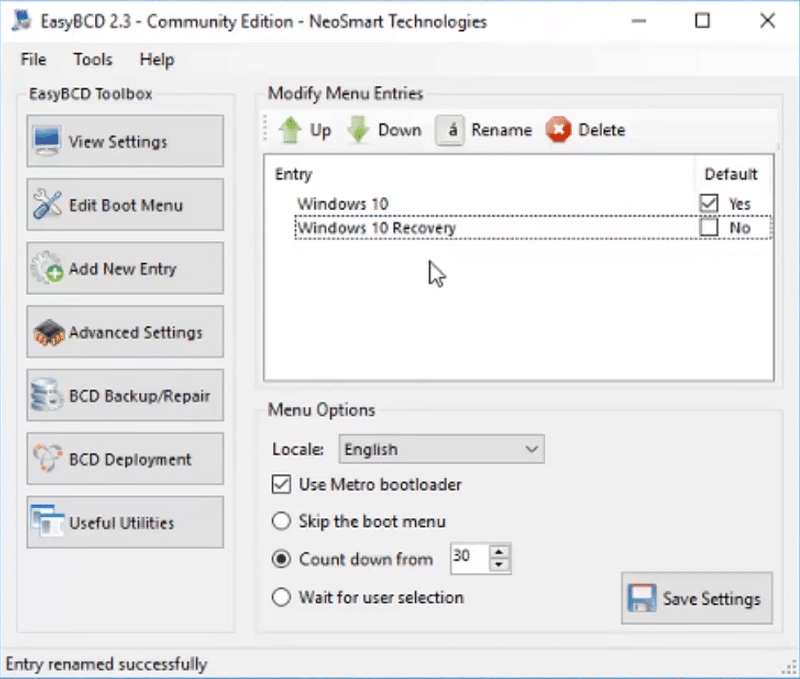
Step 8: Double-click the image entry on the boot menu to change its title to Windows 10 Recovery.
Step 9: Click the “Save Settings” button.
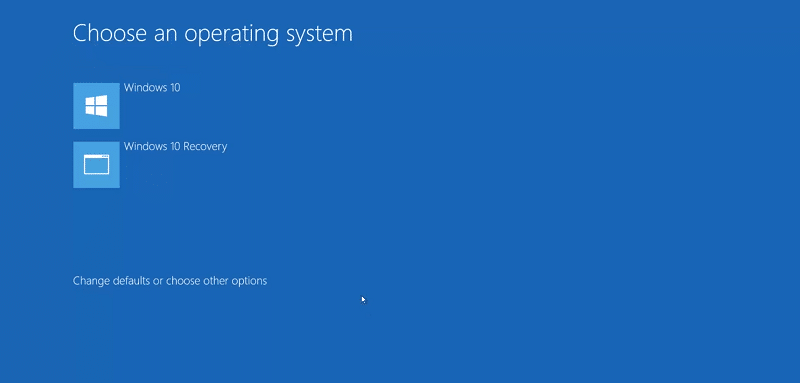
Step 10: Then restart Windows 10. Now you can select a “Windows 10 Recovery” option on the boot menu, shown directly below, whenever you need to.
Here is how to setup recovery partition Windows 10 with the Diskpart utility, it is kind of time consuming but not complicated by following our every step instruction.
Part 3. How to Create A Recovery Partition in Windows 10 via AOMEI Onekey Recovery
The AOMEI Onekey Recovery software provides a more straightforward way to create a recovery partition Windows 10. The registered version is retailing at $29.95. When you’ve installed Onekey Recovery, follow the steps below.
Step 1: Open the Onekey Recovery Free software.
Step 2: Select “OneKey System Backup” option.
Step 3: Next, click the “Backup system to AOMEI OneKey Recovery Partition” radio button.
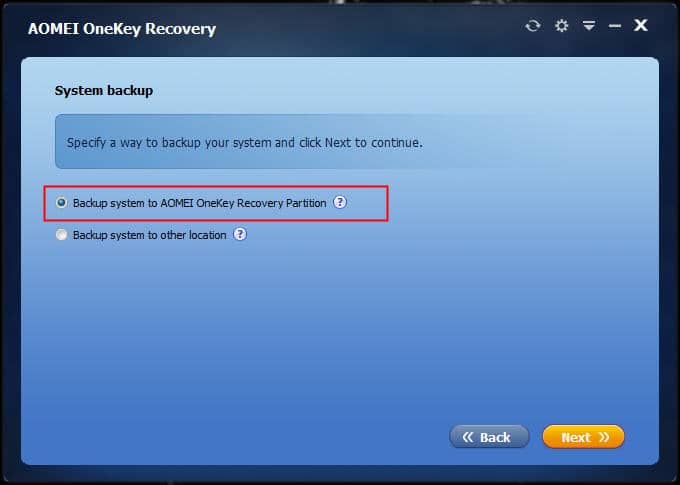
Step 4: Press the “Next” button.
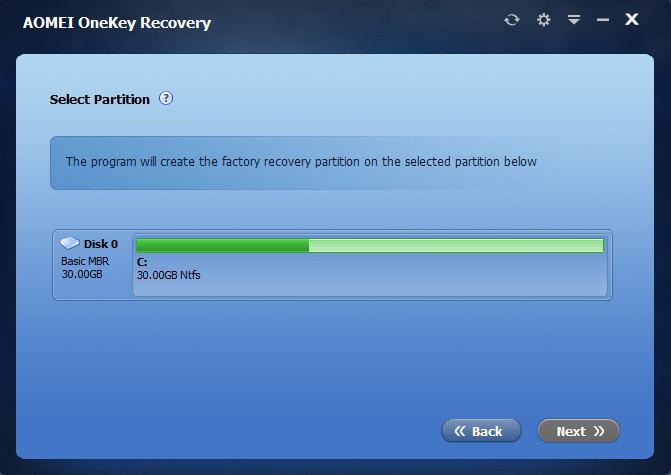
Step 5: Then select the drive to set up the partition on, and click “Next” to continue.
Step 6: Select the “Start Backup” option.
Step 7: Wait for the system backup to finish. Then click the “OK” button.
Step 8: Thereafter, click the setting button in Onekey Recovery to open the window shown directly below.
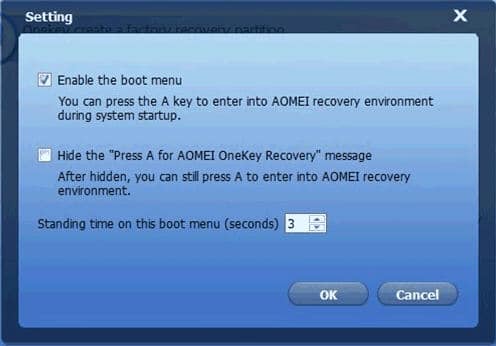
Step 9: Select the “Enable the boot menu” checkbox.
Step 10: Click the “OK” option to complete the process of how to create a recovery partition Windows 10.
Part 4. How to Recover a Lost Recovery Partition in Windows 10
If your recovery partition has been lost in Windows 10, you might be able to recover it with Stellar Data Recovery. This best data recovery software for Windows isn’t freely available, but you can try out a demo of it by clicking Free Download on its webpage. Thereafter, you’ll need to install and register Stellar Data Recovery Professional.
Step 1: Open the Stellar Data Recovery window shown directly below.
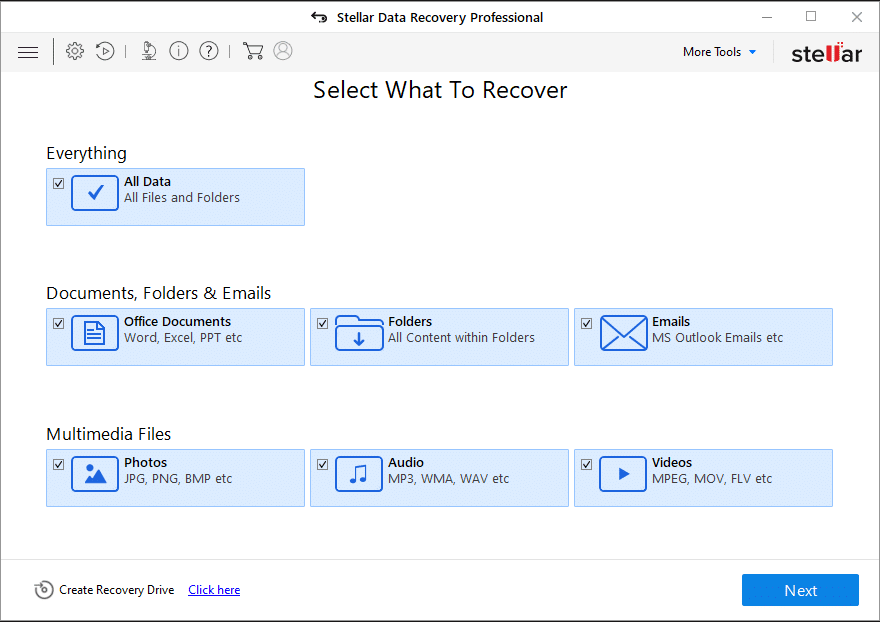
Step 2: Select the “All Data” checkbox, and click the “Next” button.
Step 3: Then select the “Can’t Find Drive” option.
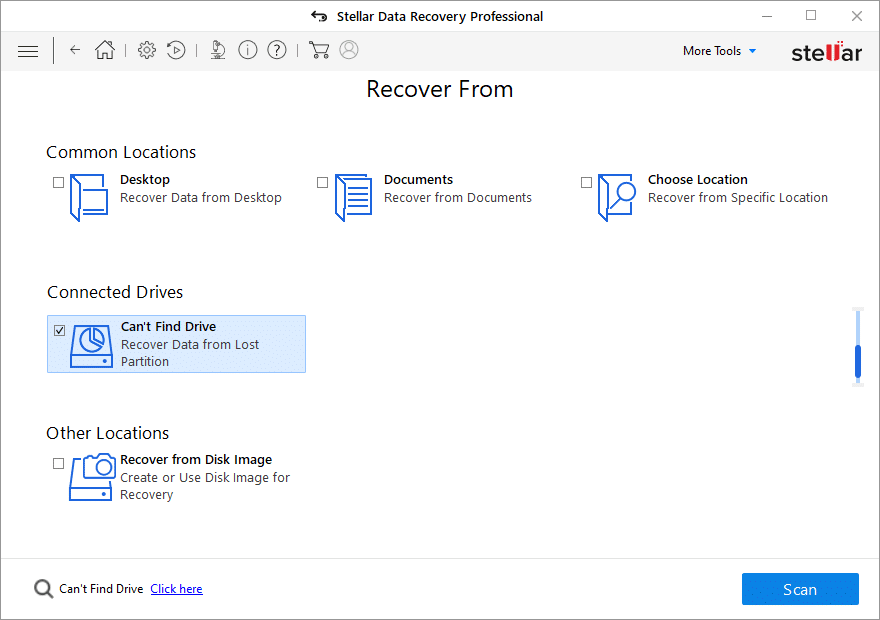
Step 4: Click the “Scan” button.
Step 5: Select the drive that includes the lost partition.
Step 6: Click the “Search” option. Thereafter, the software will list partitions retrieved within the Partitions Found box.
Step 7: Choose a partition to recover, and press the “Scan” button.
Step 8: Click the “Recover” button.
Step 9: Click “Browse” to choose a folder to save the recovered partition’s content to.
Step 10: Press the “Start Saving” button. Now you are successfully recover your lost Windows 10 recovery partition.
Conclusion
So, that’s how to create a recovery partition Windows 10. If your PC doesn’t include a recovery partition, then it might be a good idea to set one up for it. Even though you might never need to restore Windows 10, it’s still good to have a Windows 10 recovery partition precaution in place just in case.