
Some users need to capture software screenshots in Windows 10 to include on websites or in documents. Those users can capture full-screen snapshots by pressing the PrtSc keyboard key. Users can also press the Windows key + PrtSc hotkey to capture and save a full-screen screenshot at the same time.
However, most users probably prefer capturing screenshots with the Snipping Tool. Windows 10’s Snipping Tool is a utility that includes four alternative screen capture modes. Open Snipping Tool on Windows 10, it will enable you to capture smaller screenshots with its “Rectangular Snip” and “Free-form Snip” options. So, the Snipping Tool is more flexible than the PrtSc key.
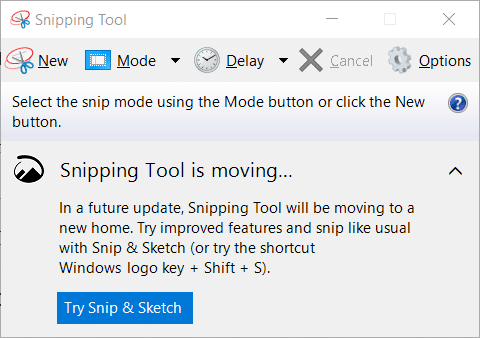
Microsoft has added an alternative Snip and Sketch utility to Windows 10. Thus, the big M is seemingly phasing the Snipping Tool out in favor of Snip and Sketch. However, you can still utilize the Snipping Tool Windows 10 if preferred. These are the various ways you can open the Snipping Tool and set up hotkeys and shortcuts for it in Windows 10.
Part 1. How to Open Snipping Tool in Windows 10
1. Open Snipping Tool from Start Menu
Step 1: To open the Snipping Tool in Windows 10 from the Start menu, click the “Start” button on the far left of the taskbar.
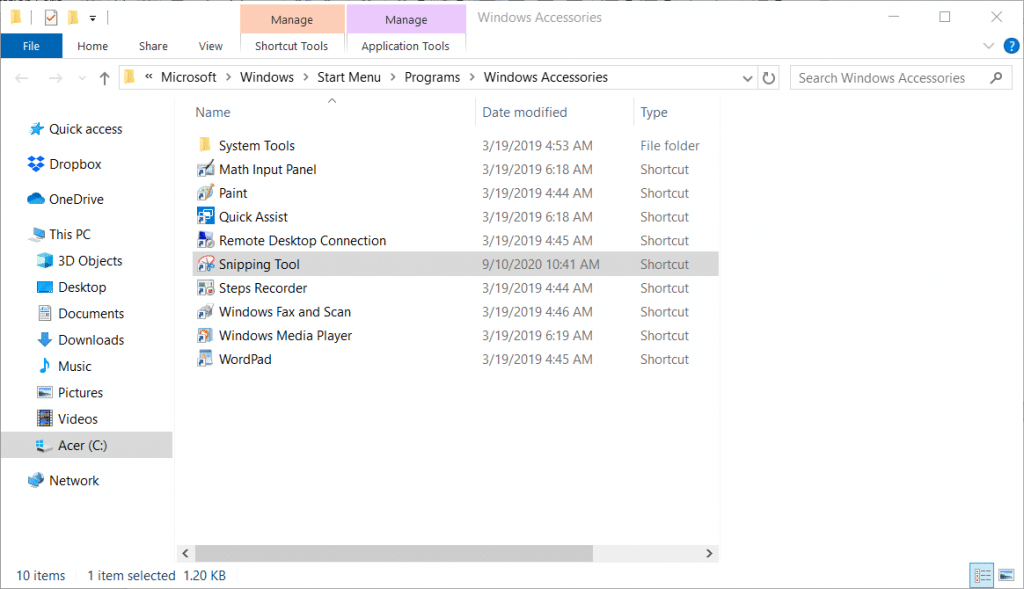
Step 2: Scroll down the Start menu to Windows Accessories.
Step 3: Click Windows Accessories to expand that folder on the Start menu.
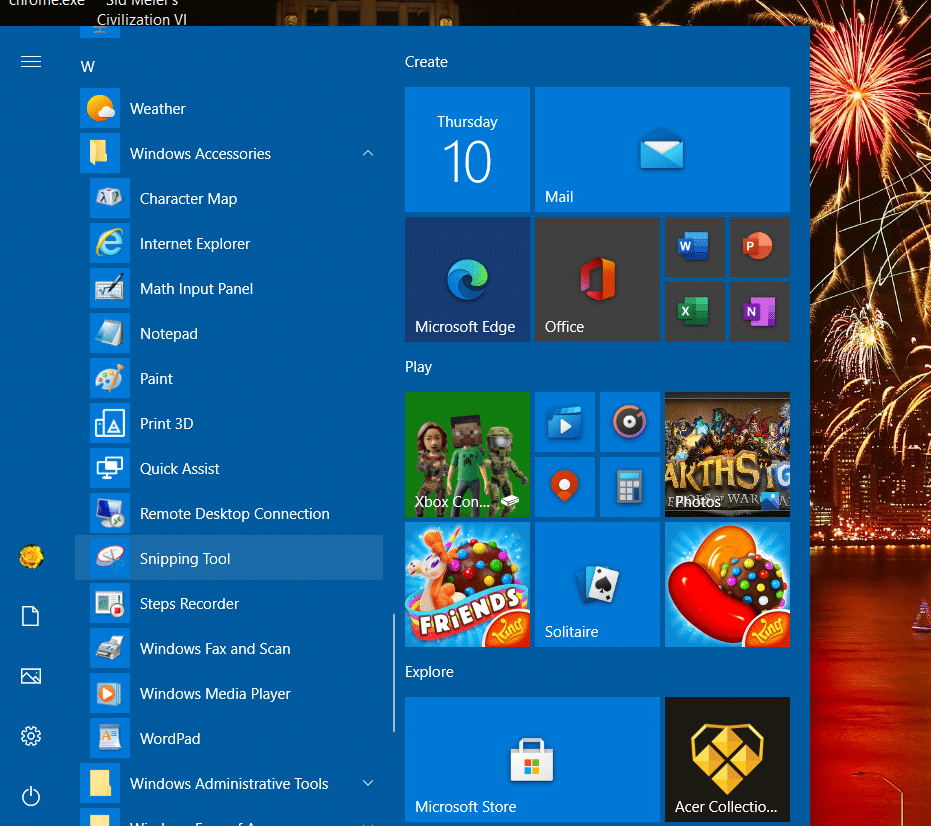
Step 4: Then click Snipping Tool to open it.
2. Open Snipping Tool by Searching
Step 1: Press the “Type here to search” button that’s adjacent to the Start menu.
Step 2: Enter “Snipping Tool” as the search keyword in the text box.
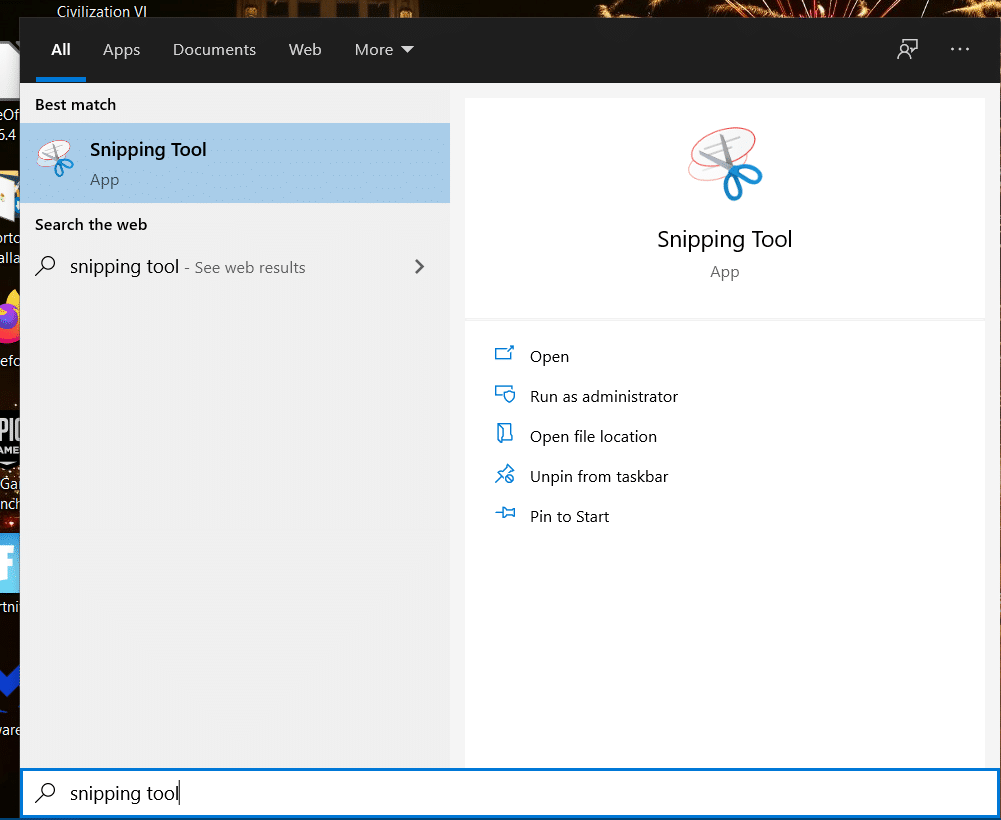
Step 3: Click the Snipping Tool to open that utility.
3. Open Snipping Tool via Run
Step 1: Right-click the “Start” button, which will open a menu with various shortcuts on it.
Step 2: Select “Run” to open the window in the shot directly below.
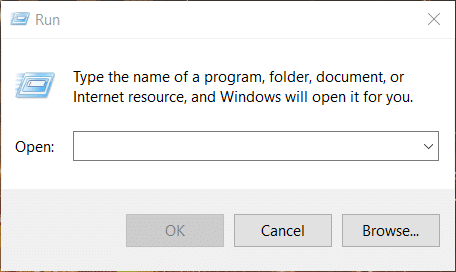
Step 3: Type “snippingtool” within the Open box.
Step 4: Select the “OK” option to open the Snipping Tool.
4. Open Snipping Tool via CMD (Command Prompt)
Step 1: Open Windows 10’s search box by clicking the “Type here to search” taskbar button for it.
Step 2: Type “cmd” in the search box.
Step 3: Click Command Prompt to open that command-line utility.
Step 4: Type “snippingtool.exe” in the Command Prompt.
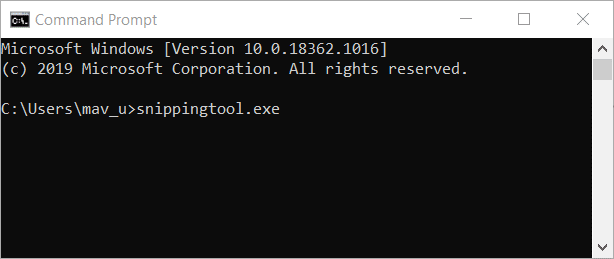
Step 5: Press the Enter key to open the Snipping Tool.
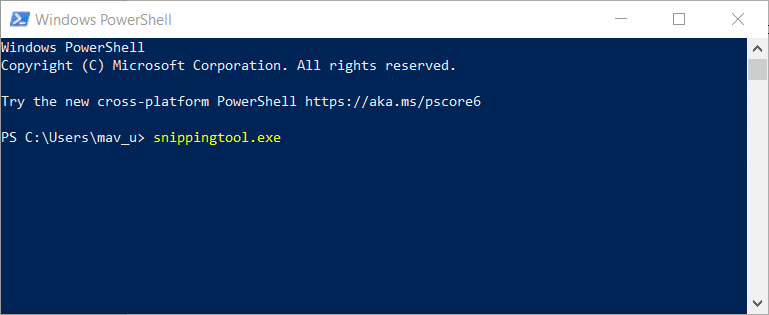
5. Open Snipping Tool via PowerShell
Step 1: Or you can open the Snipping Tool with PowerShell instead. First, press the Windows key + R hotkey to launch Run.
Step 2: Type “PowerShell” in Run’s text box.
Step 3: Click “OK” to open PowerShell.
Step 4: Then input “snippingtool.exe” in PowerShell and press Enter to open the Snipping Tool Windows 10.
Part 2. How to Create Snipping Tool Shortcut on Windows 10
You can also set up a Snipping Tool shortcut Windows 10, which will provide a more direct way to open it. Then you can open that screenshot utility a bit more quickly with its shortcut. This is how you can open Snipping Tool shortcut Windows 10.
Step 1: Right-click the Windows 10 desktop to open its context menu.
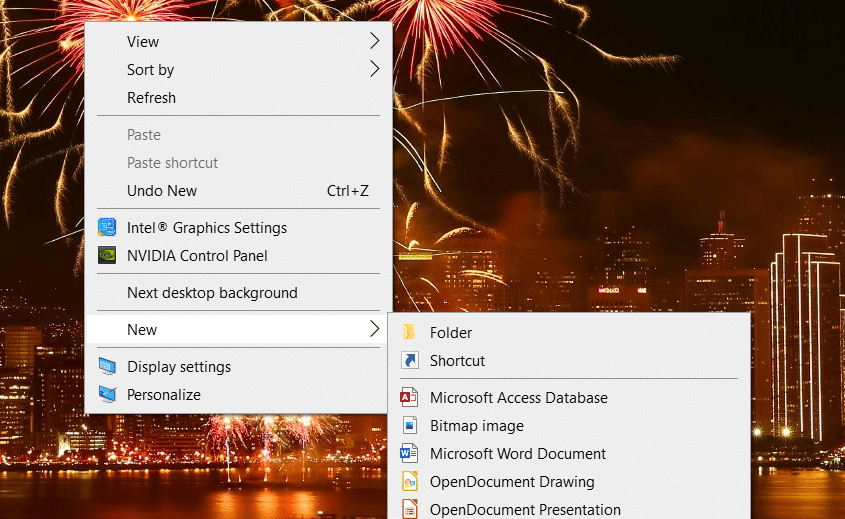
Step 2: Select “New” > “Shortcut” to open the Create Shortcut window.
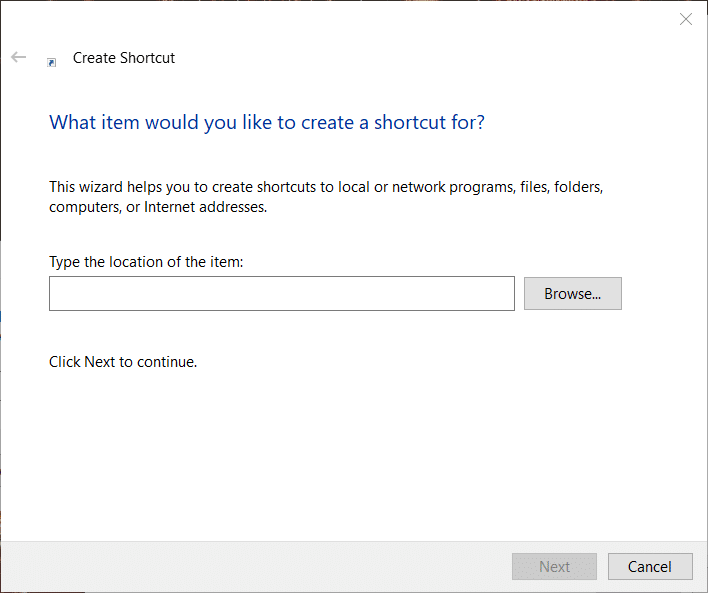
Step 3: Next, input “snippingtool.exe” in the text box.
Step 4: Click the “Next” button.
Step 5: Type Snipping Tool in the shortcut name text box.
Step 6: Click “Finish” to add the shortcut.

Step 7: To open Snipping Tool’s shortcut in Windows 10, click the Snipping Tool icon on the desktop.
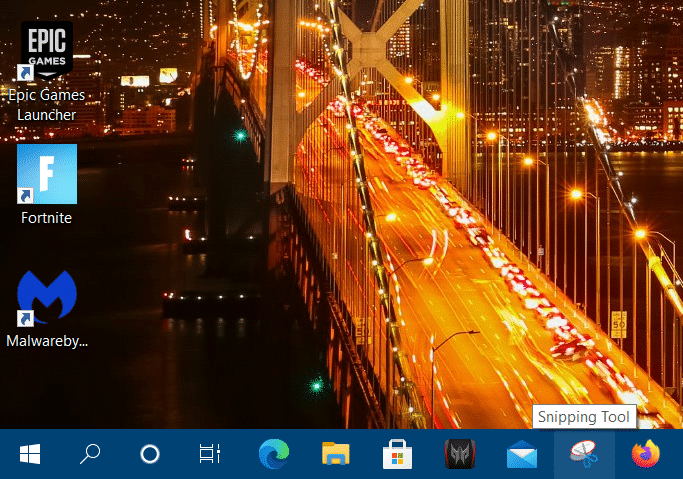
Alternatively, you can pin the Snipping Tool. Pinning the Snipping Tool will add a shortcut for it to the Windows 10 taskbar. Follow the steps below to pin Windows 10’s screenshot utility to the taskbar.
Step 1: Press the “Start” button.
Step 2: Click Windows Accessories on the Start menu.
Step 3: Right-click the Snipping Tool to open its context menu.
Step 4: Select the “More” option.

Step 5: Click the “Pin to taskbar” option.
Step 6: Then click the taskbar new Snipping Tool shortcut in Windows 10.
Part 3. How to Create Hotkey for Snipping Tool on Windows 10
A hotkey (keyboard shortcut) for the Snipping Tool would be an even more convenient shortcut. With a Snipping Tool hotkey Windows 10 established, you can press a key combination to open the screen capture utility. This is how you can set up a hotkey to open the snip utility with.
Step 1: Open the Windows 10 Start menu.
Step 2: Click Windows Accessories to expand that folder’s apps and accessories.
Step 3: Right-click Snipping Tool to select “More” on its context menu.
Step 4: Select “Open file location” to open the Snipping Tool’s folder in File Explorer.
Step 5: Right-click Snipping Tools within File Explorer and select “Properties” to open the window in the shot directly below.
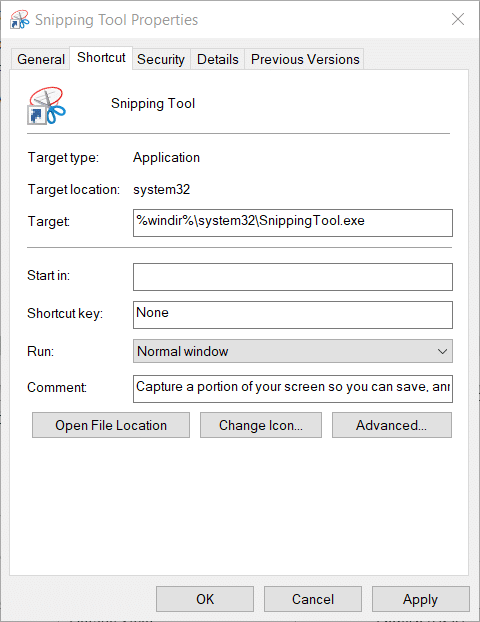
Step 6: Click in the Shortcut key box.
Step 7: Press the S key to give the Snipping Tool a Ctrl + Alt + S hotkey.
Step 8: Press the “Apply” button.
Step 9: If an Access Denied dialog box window pops up, press the “Continue” button on it.
Step 10: Select the “OK” option to exit the window.
Step 11: Then press the Ctrl + Alt + S hotkey to open the Snipping Tool.
Part 4. How to Snip on Windows 10
Step 1: Taking screenshots with the Snipping Tool on Windows 10 is straightforward. First, open the Snipping Tool with any one of the methods above.
Step 2: Click the “Mode” button to open the drop-down menu in the shot directly below.
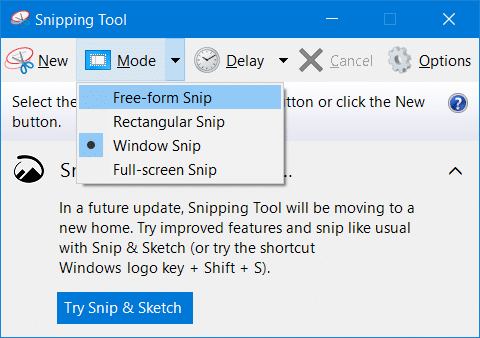
Step 3: Select “Rectangular” or “Free-form Snip” to capture a smaller screenshot.
Step 4: Click and hold the left mouse button to drag the rectangle across an area you wish to capture with the screenshot. If you selected “Free-form Snip,” you’ll need to hold the left mouse button and move the cursor around an area to include within your snapshot.
Step 5: “Window Snip” is an alternative capture option. Users who select that option will need to left-click a window to include within the screenshot.
Step 6: Let go of the left mouse button to capture the shot. Thereafter, an editing window will display a preview of your screenshot.
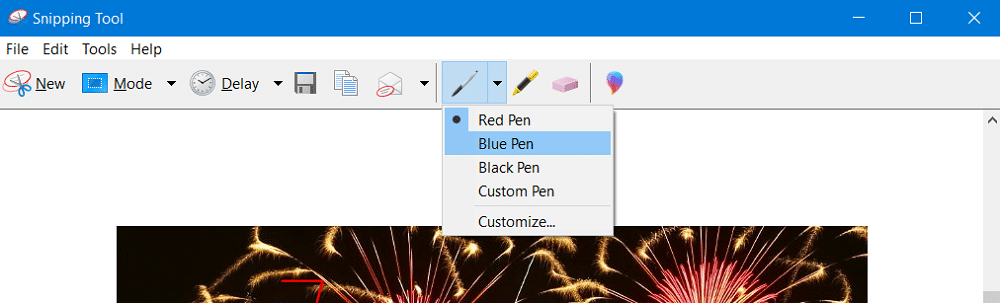
Step 7: You can click the “Pen” button to draw on the shot. Click the small down arrow on the “Pen” button to choose an alternative type of pen.
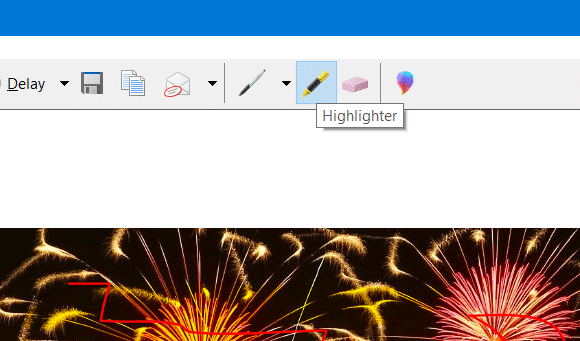
Step 8: To add highlights to the shot, select the “Highlighter” option. Then press and hold the left mouse button and drag the cursor over a part of the image to highlight.
Step 9: If you need to delete editing, click the “Eraser” button. Then move cursor over pen or highlight marks to delete and left-click the mouse.
Step 10: To save a snapshot, press the “Save Snip” button, which has a disk icon.
Step 11: Select a folder to save your screenshot in.
Step 12: Enter a title for the file in the text box.
Step 13: Choose a file format on the Save as type drop-down menu.
Step 14: Press the “Save” button.
Conclusion
That’s how you can open, set up shortcuts for, and capture screenshots with Snipping Tool on Windows 10. Although you can now utilize Snip and Sketch for screenshots, that utility isn’t much different from the original Snipping Tool. Snip and Sketch has a different UI design, but it doesn’t include much in the way of new options. So, you might as well continue utilizing Windows 10’s original snip utility, which remains a perfectly sufficient screen capture tool for most users.